Recently I’ve become intrigued with unpaper towels. Have you heard of them? Unpaper towels are an earth friendly option to traditional store bought paper towels. Because unpaper towels are made of fabric they can be laundered and reused over and over.
Usually when we eat we each grab a paper towel or paper napkin; we never use cloth napkins. After seeing adorable unpaper towels online (look at Pinterest for some adorable options) and talking to other sewers who have created their own I decided to give it a try. It makes sense that in the long run they will be more economical. I have about $14 invested in this project; your cost will vary depending on the cost of your fabric.
Because I know many of you may just want to know how to make unpaper towels at home, I detailed my process below.
I tried to include a bunch of photos to make it easier to understand. To be honest, I didn’t use a pattern. I just winged it and I am super happy with the result!
Let me know how you get on with the DIY project and feel free to share your creations on our Facebook page.
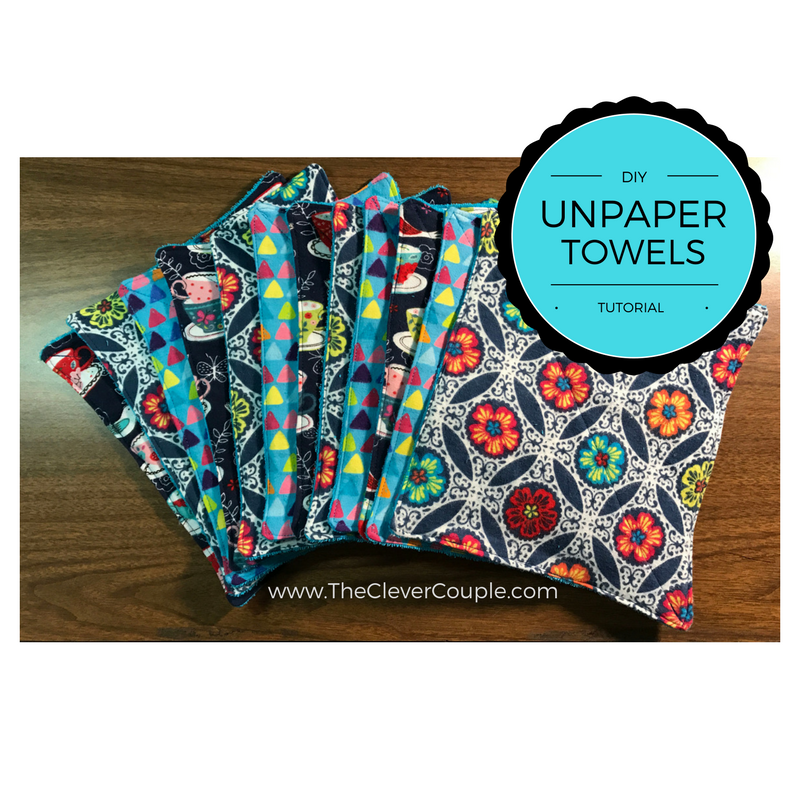
Unpaper Towels Tutorial – DIY Instructions
Supplies to make 12 unpaper towels:
1 yard terrycloth fabric
1 yard flannel fabric (I bought 12″ of 3 different patterns)
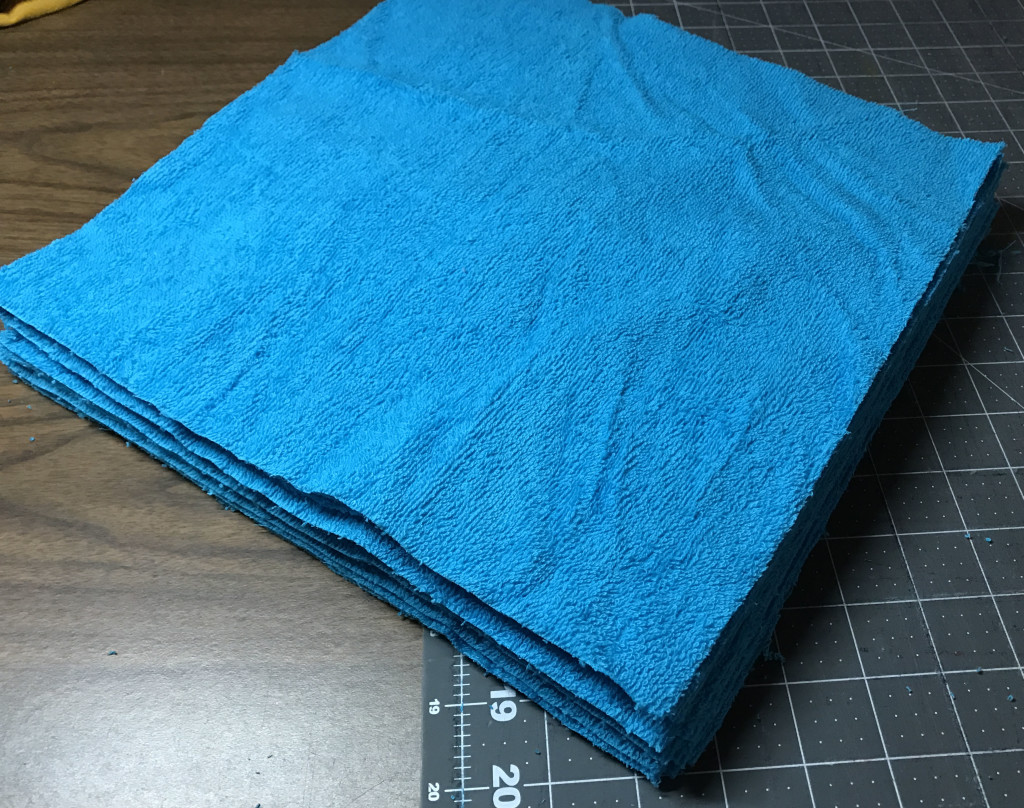
Wash and dry your fabrics first. Some fabrics will shrink when they are initially washed and dried and you do not want that happening when you are finished.
They will probably come out with some frayed edges; this is OK.

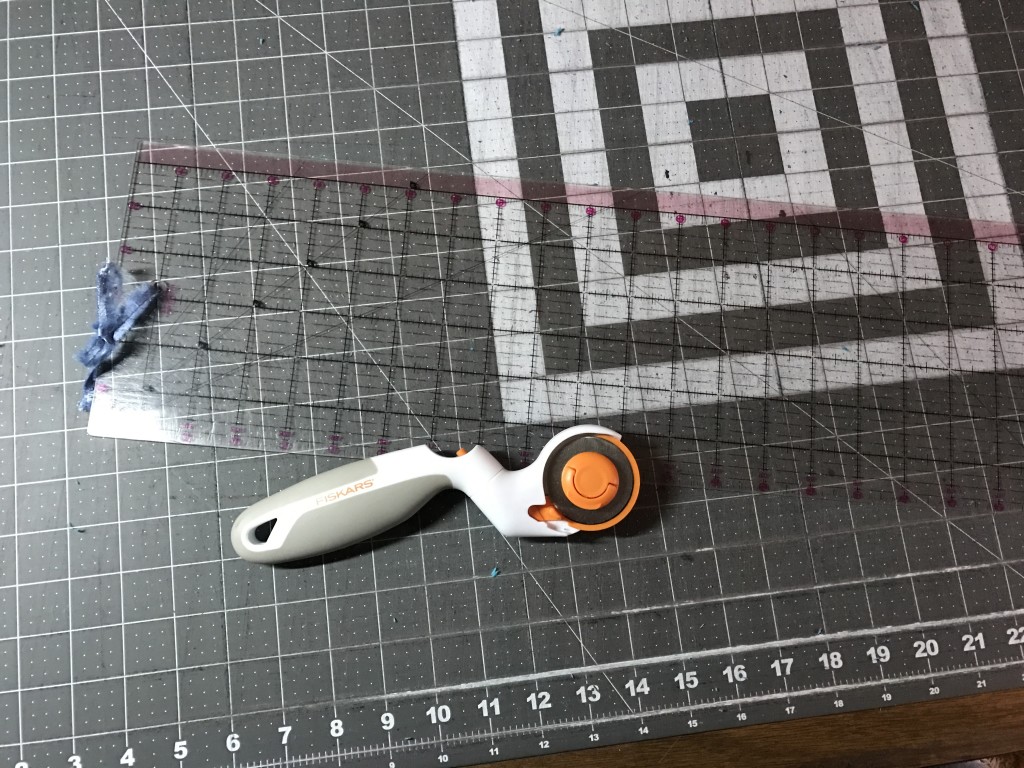
Cut the fabric into rectangles. To get the biggest unpaper towels maximizing the yardage you purchased, cut them to 10″ x 11.5″ rectangles. This step is much easier if you have a rotary cutter and cutting mat.
You will end up with 12 pieces of terrycloth and 12 pieces of flannel.
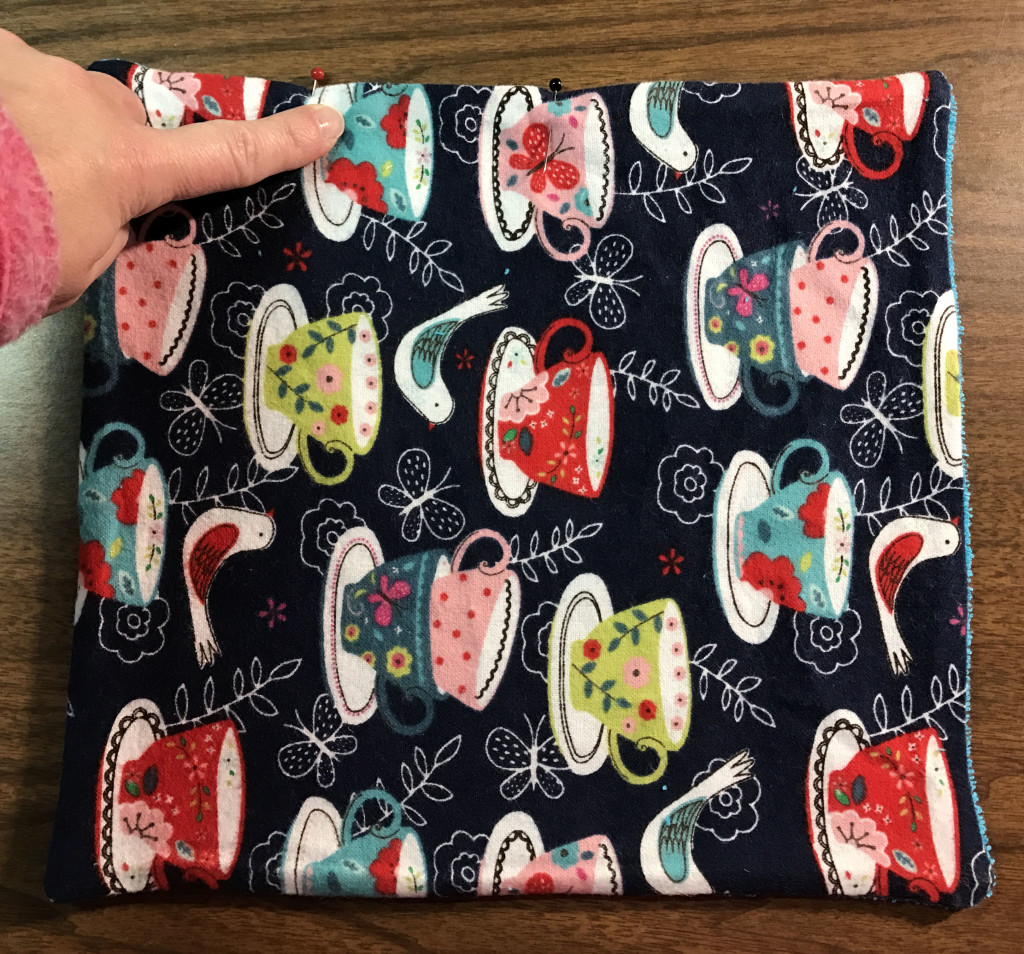
Pin a piece of terrycloth to a piece of flannel, right sides together.
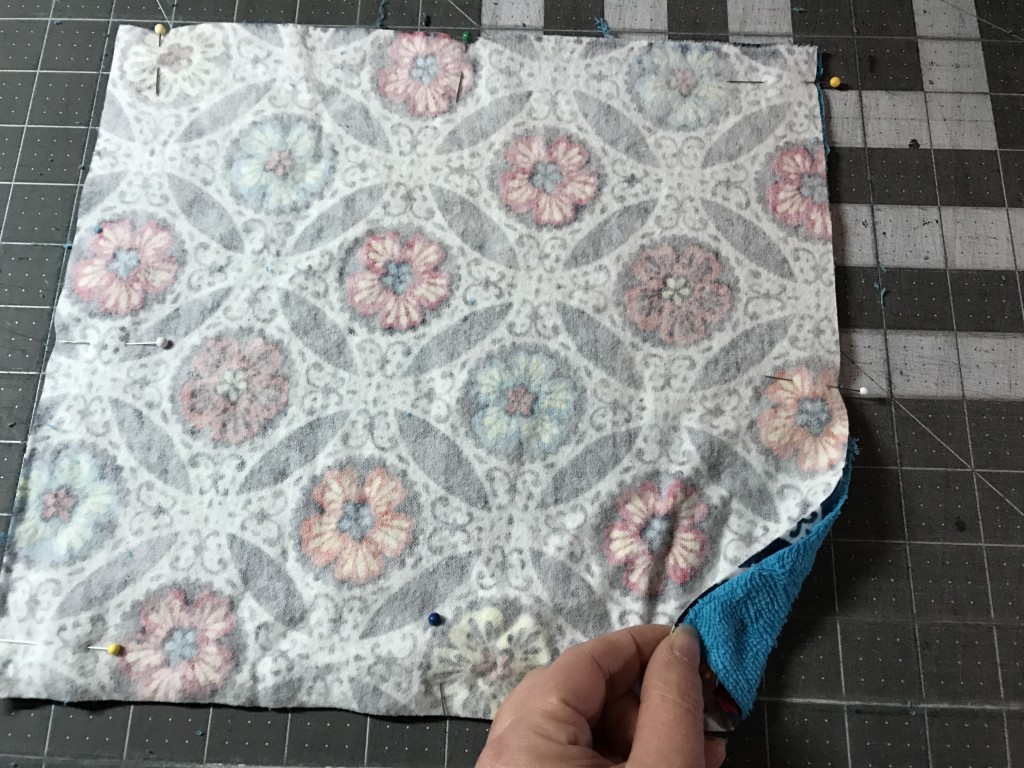
Sew around the edges of the rectangle, leaving about a 3″ opening so you can invert the fabric.

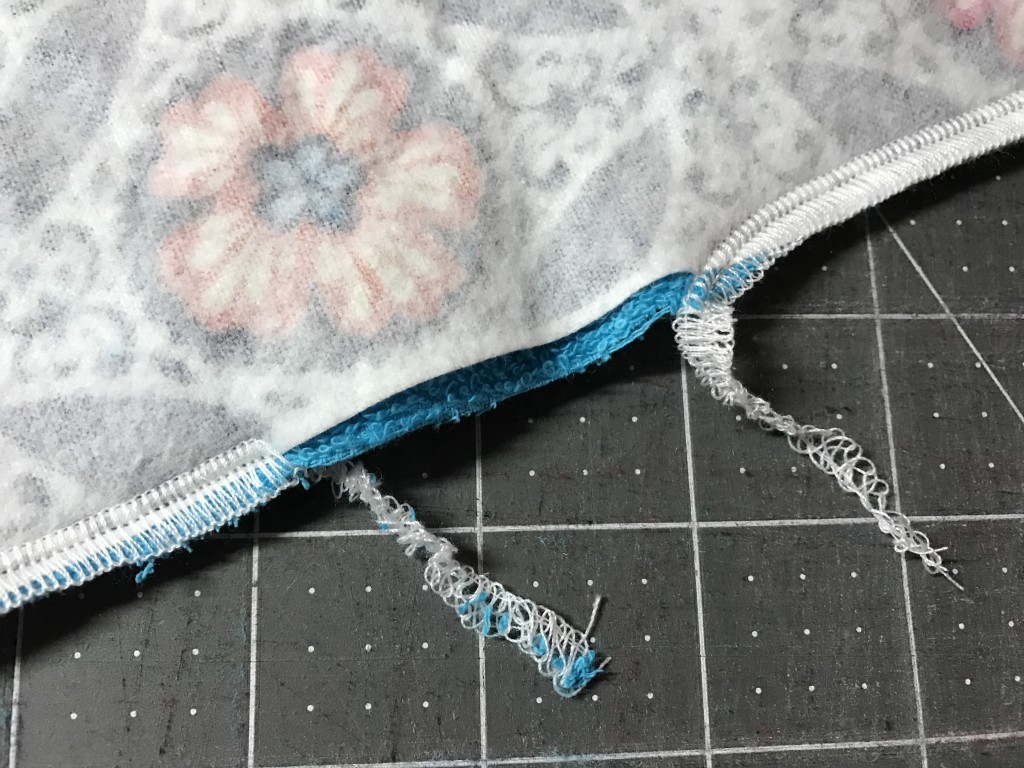
Once you have them all sewn, invert them so the right sides of the fabric are outside.
Using an iron, press the edges. When you get to the section you have left unsewn, fold down the fabrics inside the towel and pin this area closed. You’ll be straight stitching over this area to seal the opening.
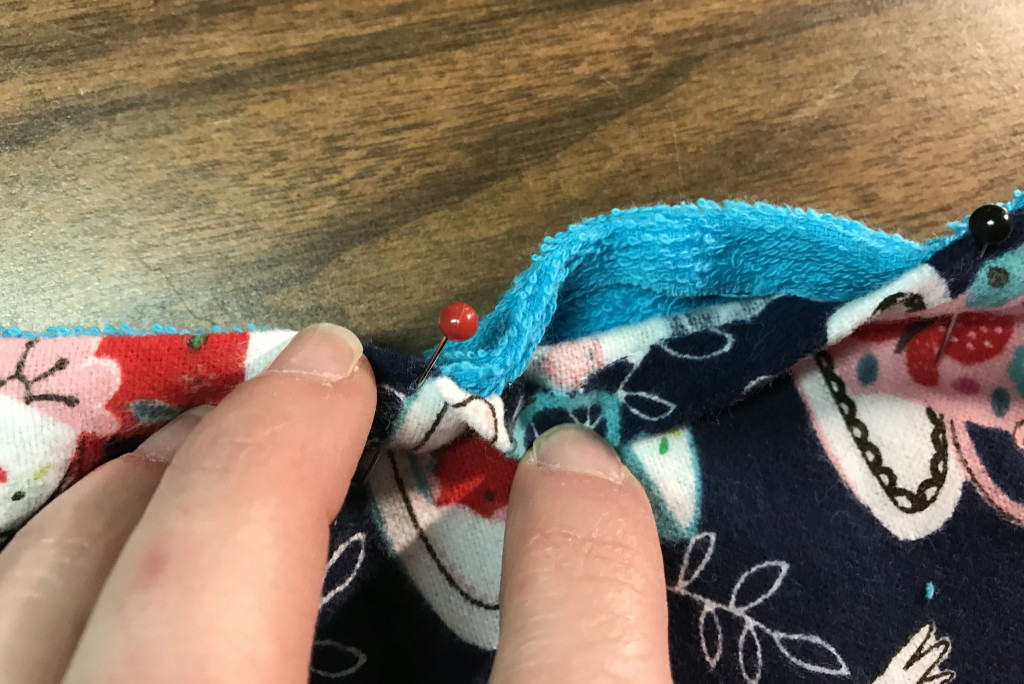
Straight stitch around the edges of the towel (pay special attention to the opening area to be certain you catch that and sew it closed)

I also went ahead and sewed a diagonal line down each towel to keep the front and back together. This step is optional, but I am thinking they will be easier to keep in shape with this quick extra step.
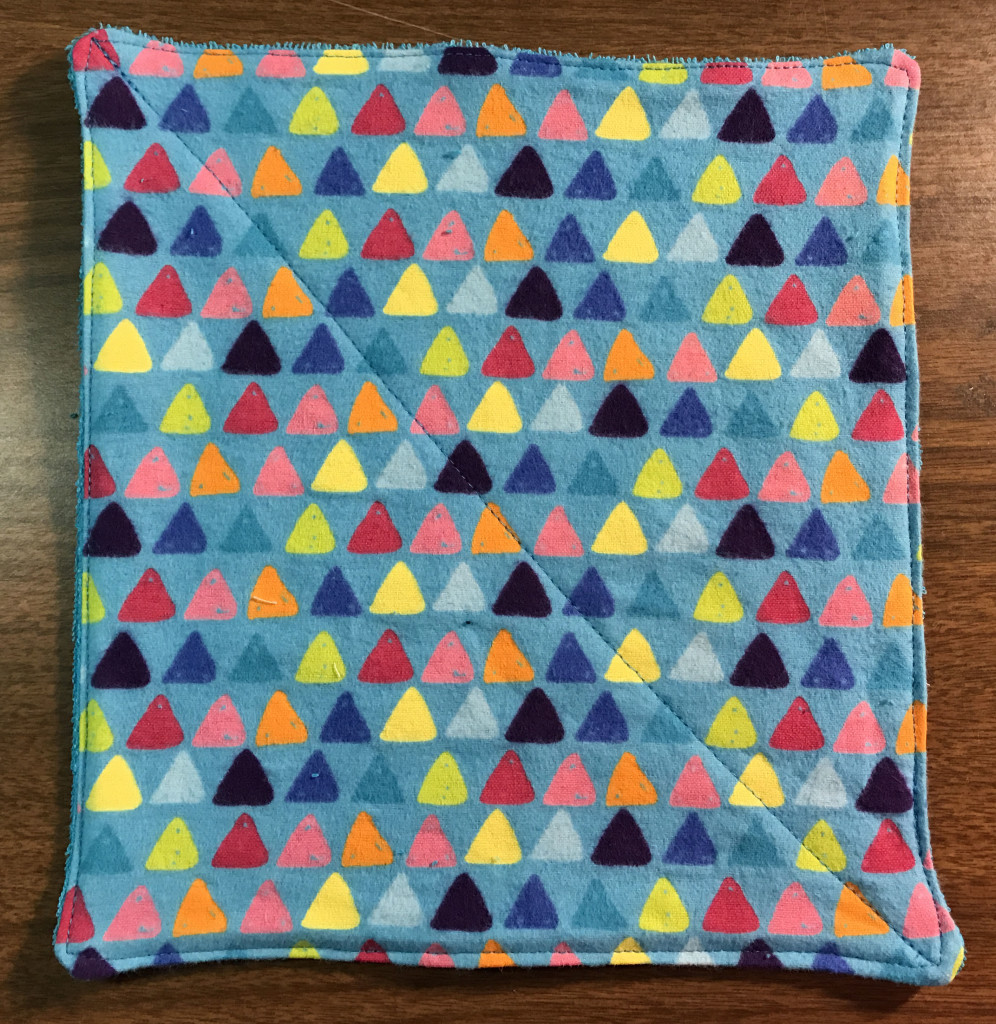
That is it – done!
I’ve seen some people use plastic snaps and fasten the towels together. This allows them to be rolled up like a traditional paper towel.
For me, I’d rather keep them in a tidy stack in the kitchen.
If these sound intriguing but you don’t want to try the unpaper towels tutorial and sew your own you can find oodles of them for sale on Etsy.

