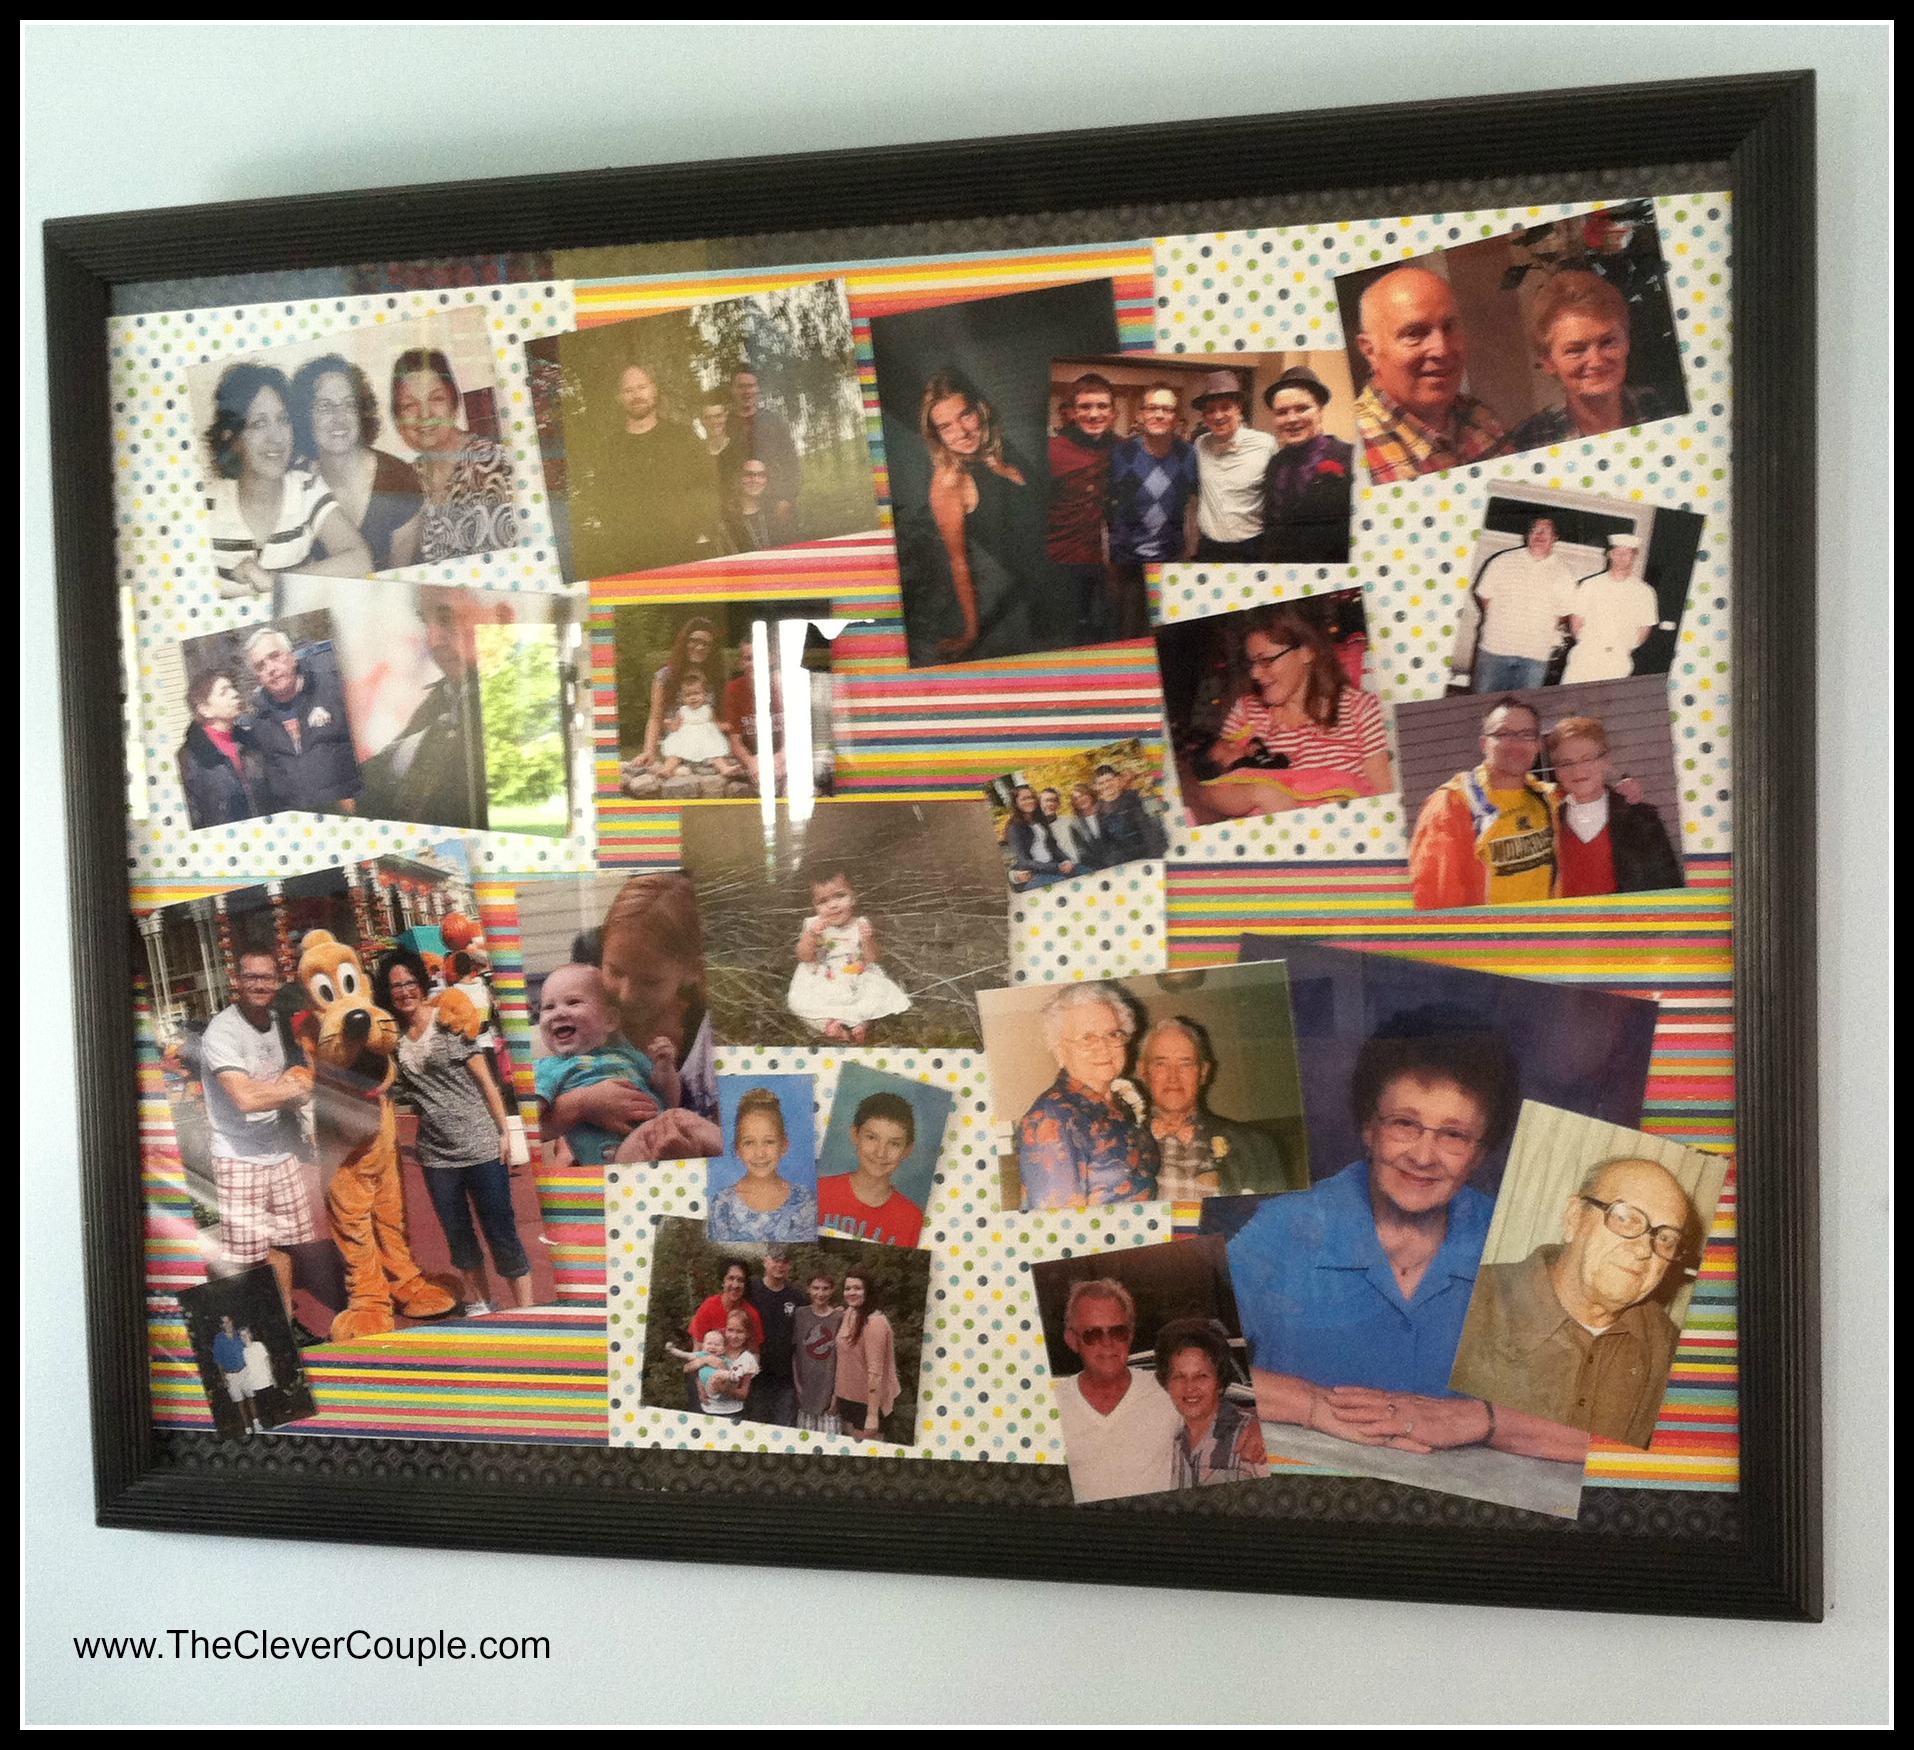
For a long time we have had a gallery of family photos hanging on a wall in our home. It included about 20 different photos of various family members and they were all different size photos. We scoured thrift stores and garage sales and found similar frames and spray painted them all one color for a uniform look. We loved this idea, but when we repainted our living room we decided it was time for a change. We still wanted the family photos but did not want the “gallery” look with a ton of different frames.
It was just around this time that we came up with a great and inexpensive way to transform a $2 investment into a collage wall.
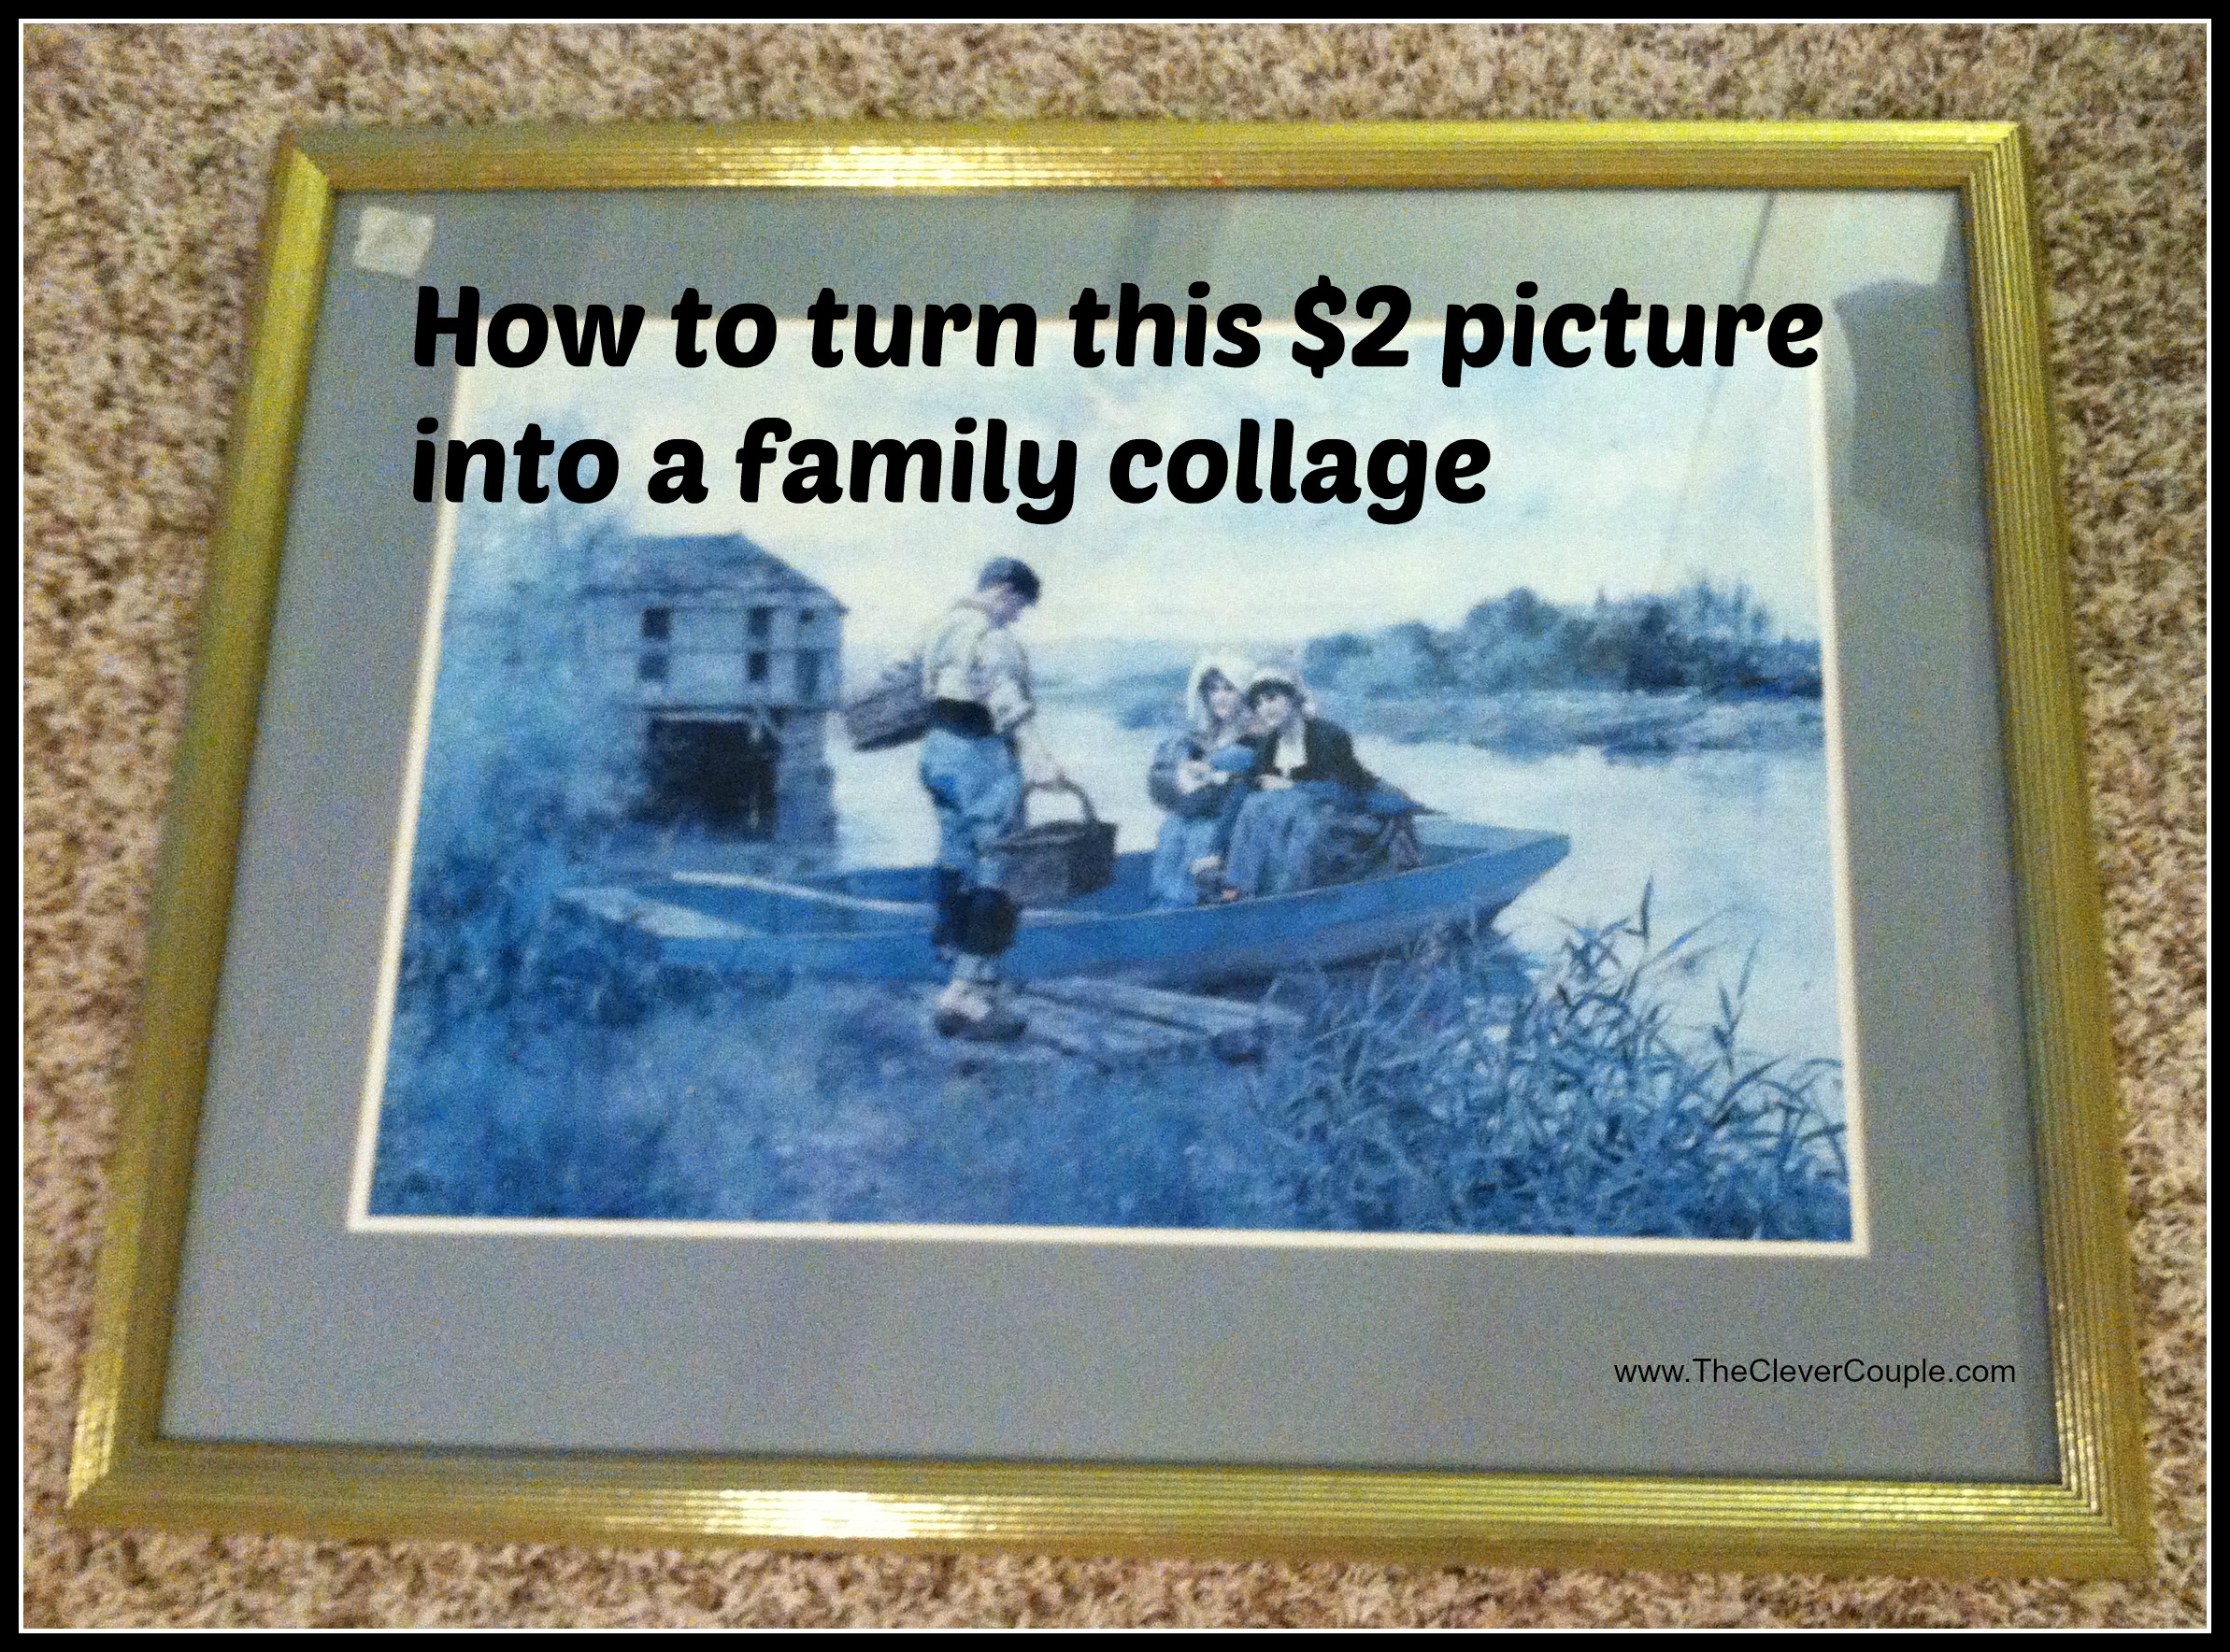
You have all seen these ugly monsters at garage sales and thrift stores; big outdated wall art that comes in a nice frame and is under glass. That is what you will need for this project; you are looking for a good frame and glass – nothing else matters. We guarantee you will find something like this for just a few bucks; they are slow movers at sales and at the stores.
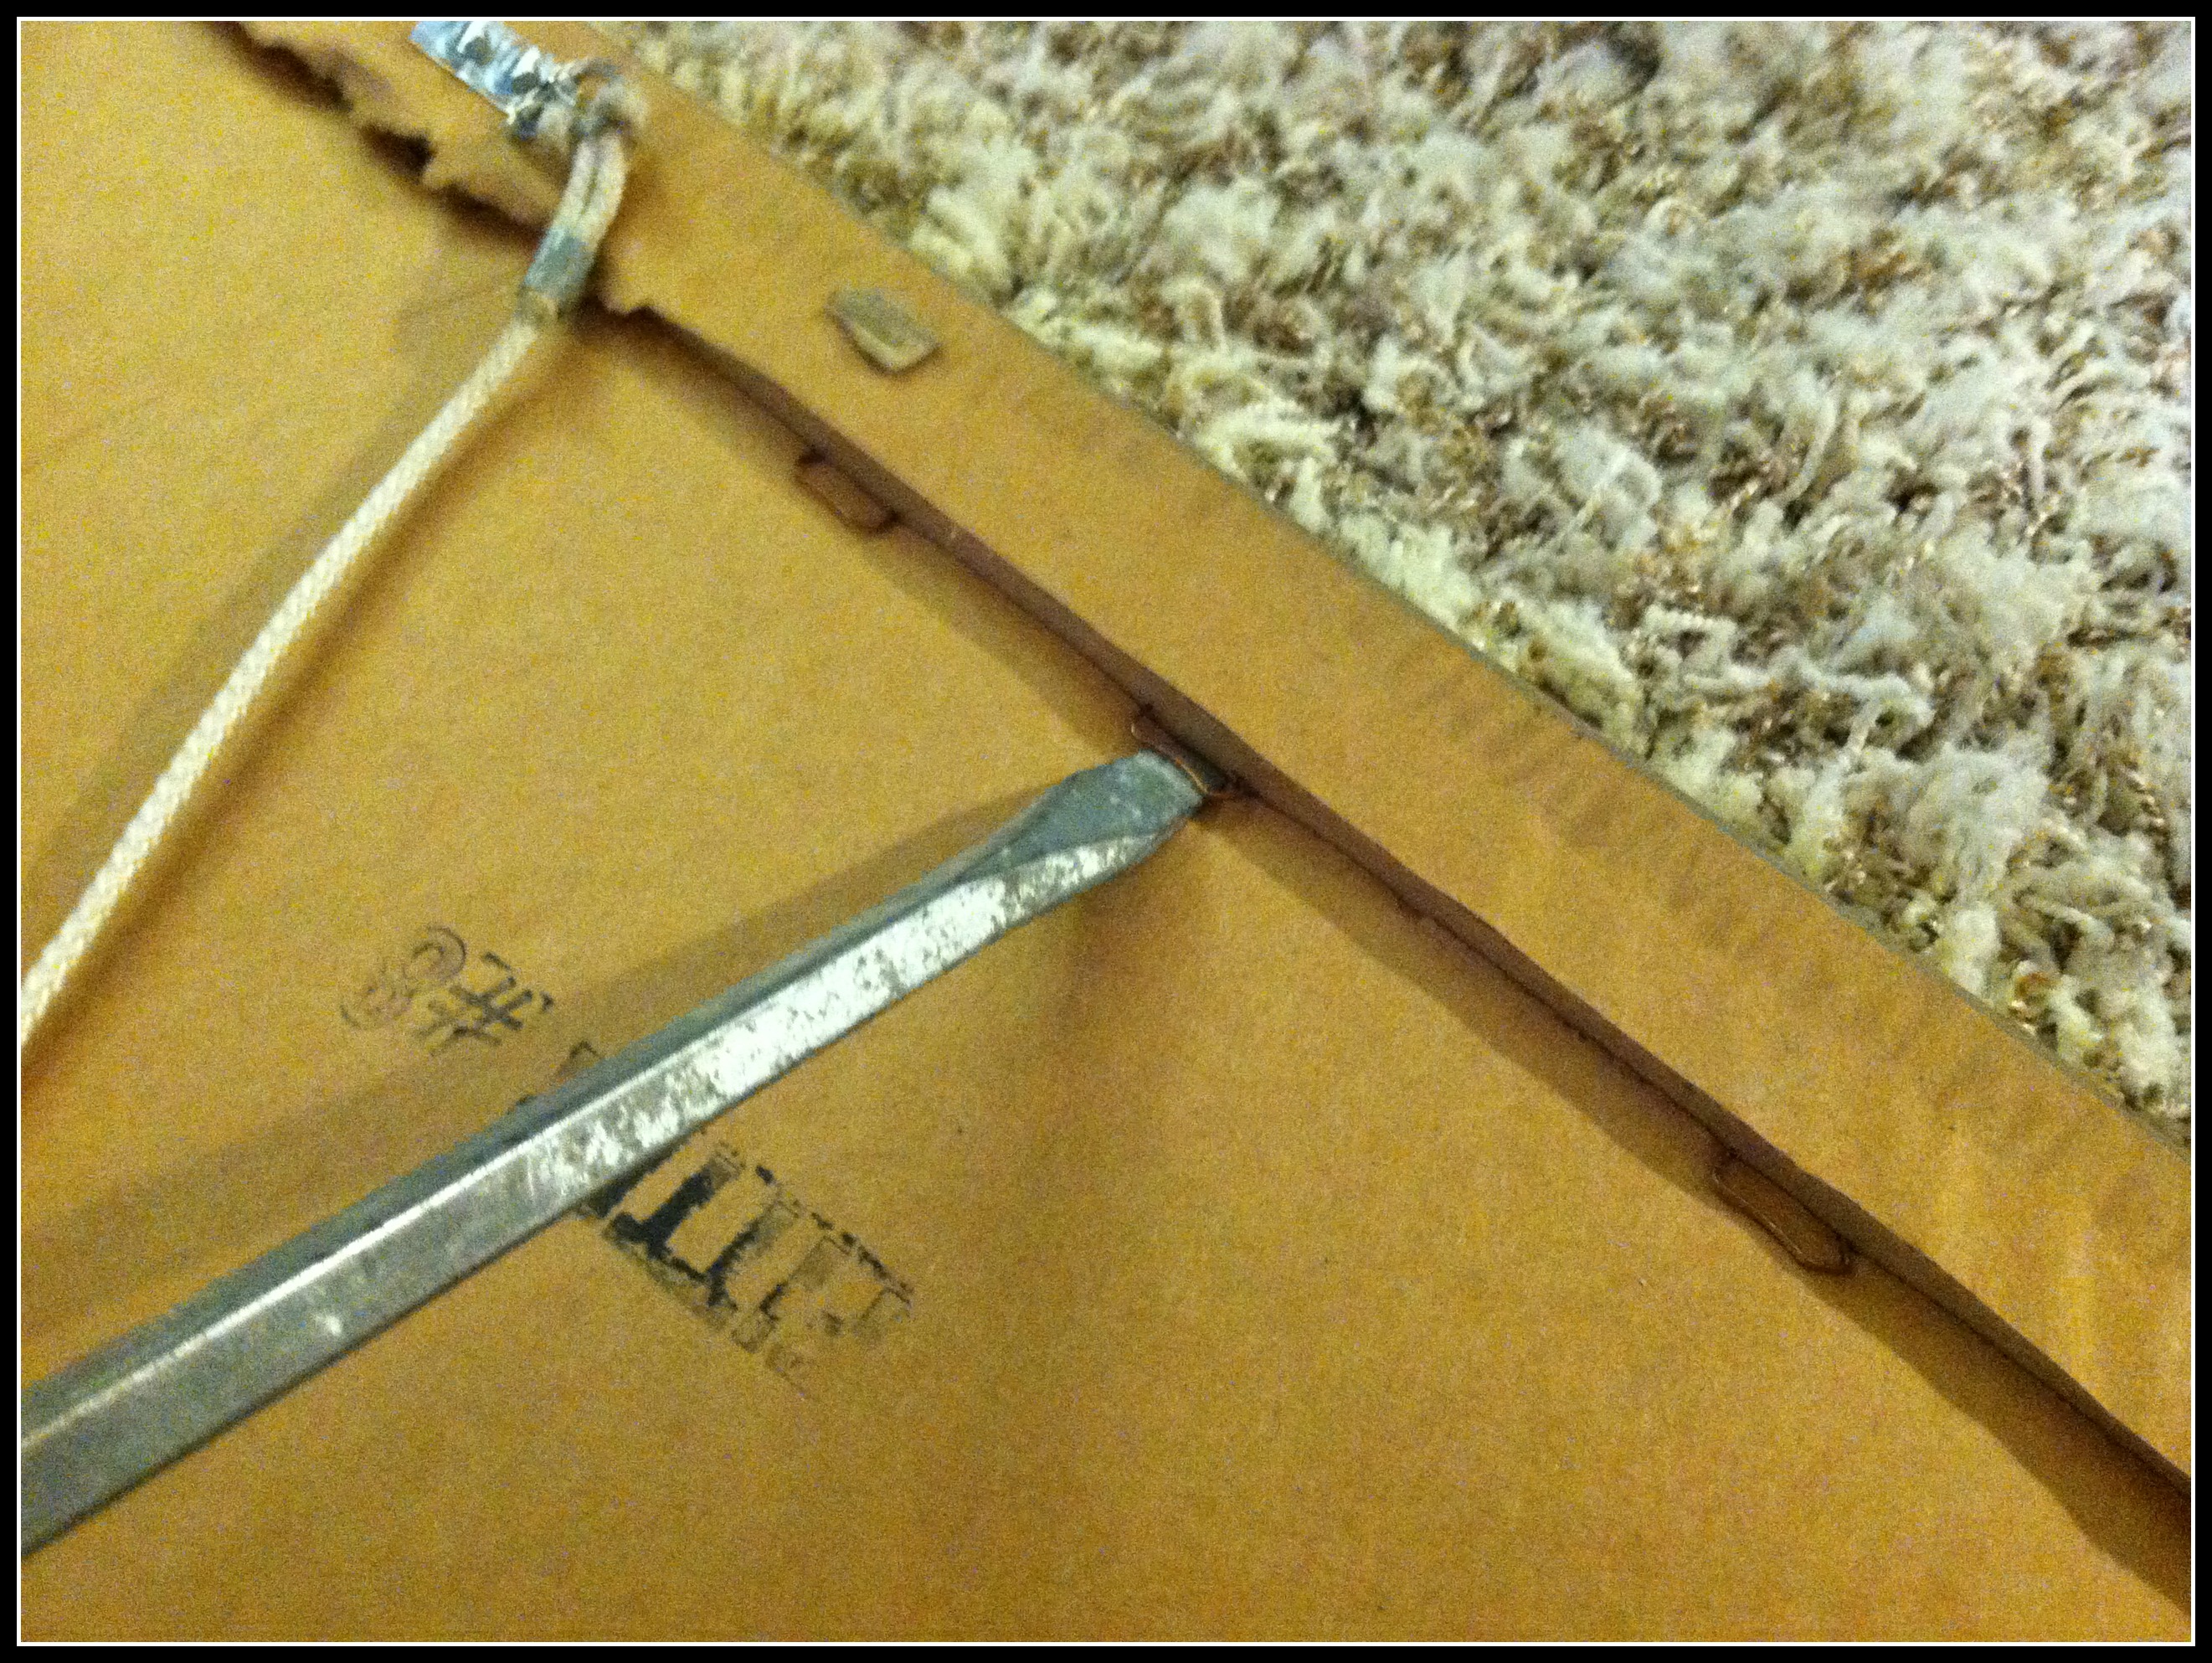
Once you have your piece home, lay it on a soft surface like the carpet or a padded table and work on the back. You’ll need to remove the staples that hold the backing material in place.
We used a screwdriver to pry up the staples. You don’t want to remove the staples entirely because you will need them to hold the back in place when you are finished. You just want to pry them up enough to allow the backing to come off. If one or two break, don’t fret – that is OK.
Once you are able to remove the cardboard backing, do so, along with everything else that is under the glass.
You will most likely have a hard piece of cardboard that will become your new base to apply your photos to.
We decided to use 6 12″ x 12″ pieces of scrapbook paper for the background on our collage (3 sheets of paper #2 and 3 sheets of paper #3) and a third paper for a border (paper #1).
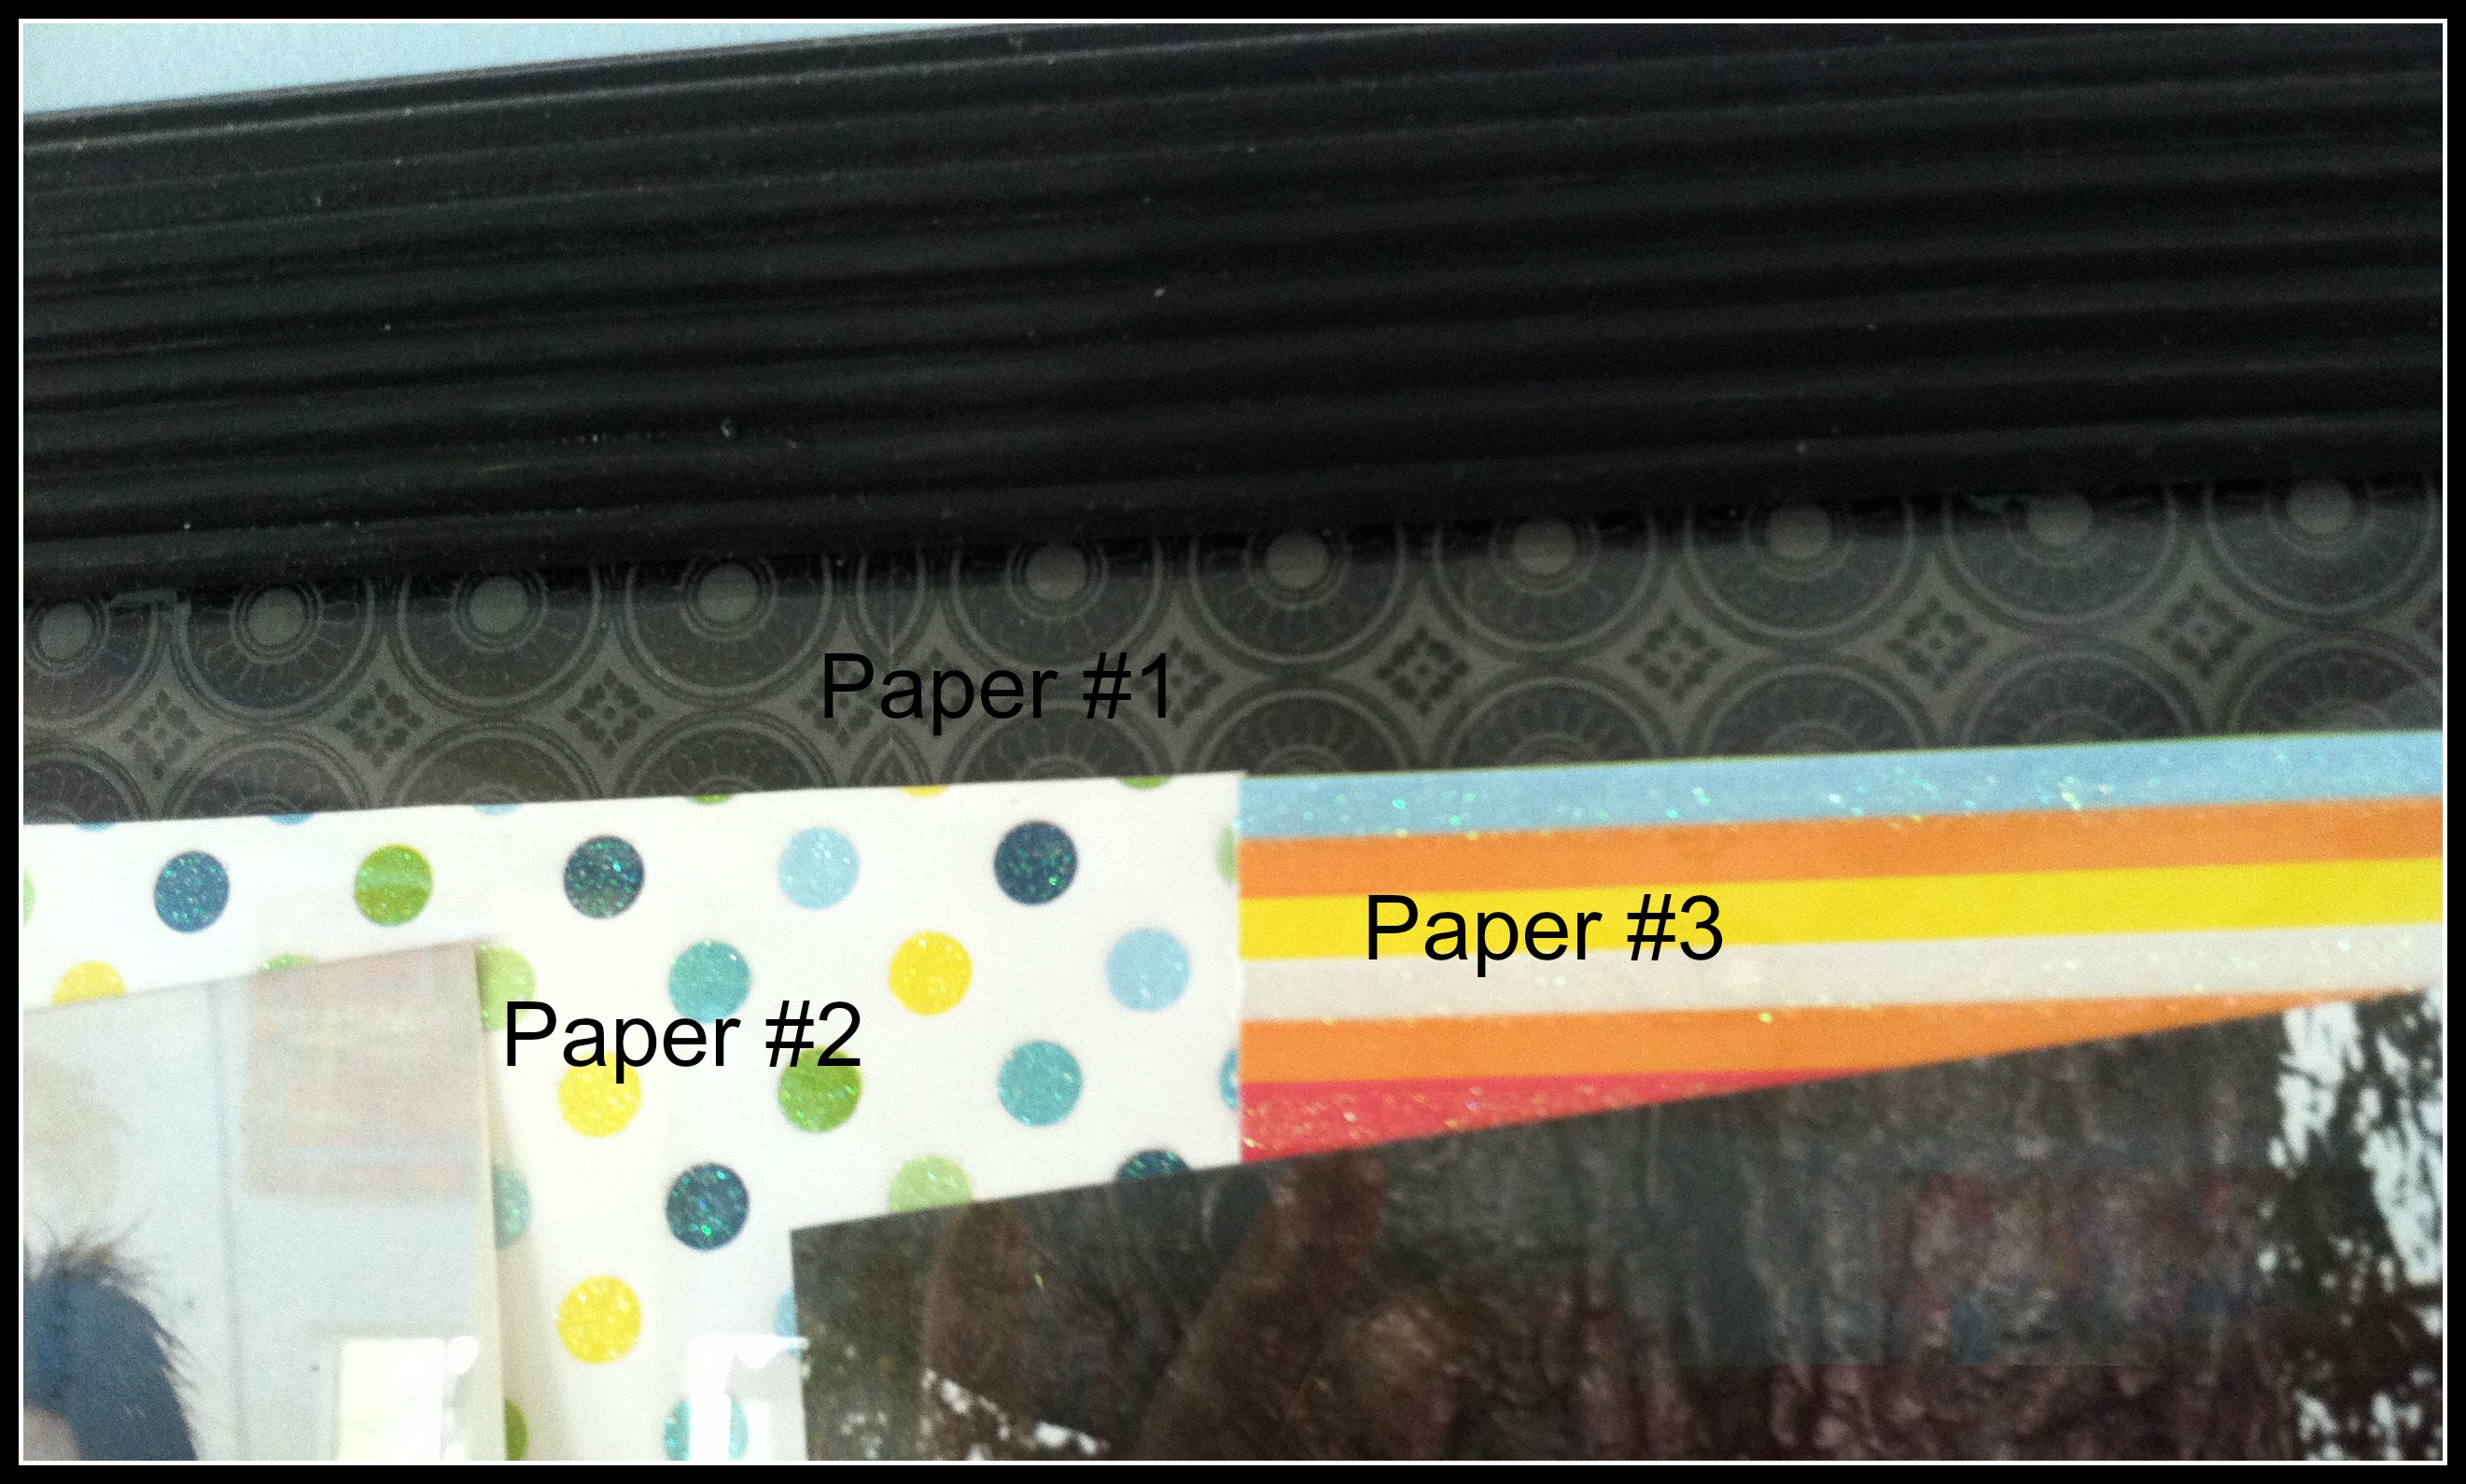
You can pick up fun papers at craft supply stores and they cost $0.10 to $0.50 each, depending on what you choose. You could also use pretty wrapping paper or a fabric that you like. Glue the paper (or fabric) to the cardboard and allow to dry. You may need to trim the edges depending on the size of your piece.
Meanwhile, paint the frame your color of choice. This is best done outdoors to avoid any spills. We went with black on our frame and used craft paint from the craft store. Our frame took 2 coats to cover. If you like to experiment with chalk paint, this would be a good project for that as well.
Once the frame has dried and you have your background complete, it is time to lay out the photos. Play around with the groupings you like the best and once you have decided on the layout then tack them into place on the paper backing. We used scrapbook adhesive squares but you could also use glue or a small amount of rolled tape. How you adhere the photos does not matter, just be sure you adhere them so they don’t all fall to the bottom of the frame when you hang it!
After you have the photos fastened, insert the piece under the glass and then pry down the staples to hold it in place. This is best done either on the carpet or on a padded table so that you do not break the glass.
Once you have completed this step, you are done. Hang your new masterpiece and smile.